Screen And Keyboard Basics
Laptop screens and keyboards fail in predictable ways during cleaning: liquid seeps into the bezel, lens coatings get etched by harsh solvents, and key switches collect residue. The goal is to remove oils and dust using minimal moisture and controlled pressure, then let everything dry before power-on.
Start by powering the laptop off and unplugging the charger. If the model has a removable battery, remove it too. Wait a few minutes so the display surface cools; warm screens can make some cleaners flash-dry and leave streaks. For a quick example, a microfiber cloth alone often fixes fingerprints on matte or glossy panels, while a damp cloth helps with grime that has mixed with skin oils.
Safe Materials To Use
Choose The Right Cloth
Use a clean microfiber cloth designed for electronics or eyeglasses. Avoid paper towels and rough shop rags; they can scratch coatings and leave lint. If your cloth has been used for greasy surfaces, wash it first, because oil transfer is a common reason screens look worse after cleaning. I keep a dedicated cloth labeled “screen” and another labeled “keyboard,” and I swap them after each session—version 2.1 of my own routine after one too many streaky mornings.
Use Low-Moisture Cleaning
For the screen, use either plain distilled water on the cloth or a manufacturer-approved screen cleaner. Apply the liquid to the cloth, not the panel, and use light pressure. A practical target is a cloth that feels slightly damp, not wet enough to drip. If you see streaks, stop and switch to a dry microfiber pass rather than adding more liquid.
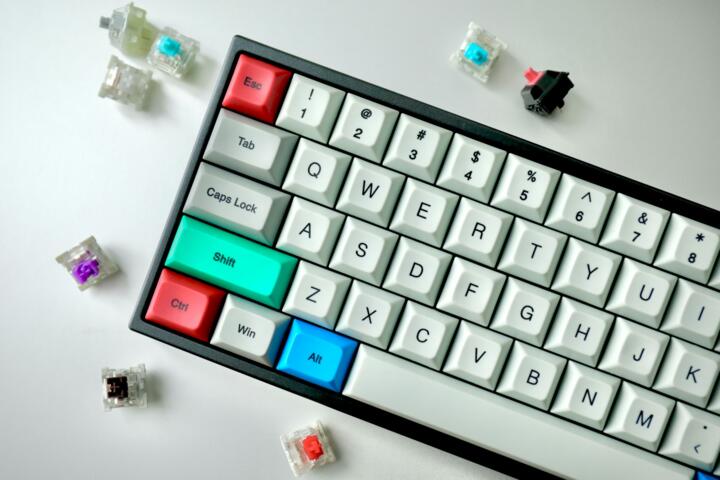
Clean Keyboard Keycaps Gently
For keycaps, start with compressed air held several inches away. Use short bursts and keep the nozzle moving so you do not concentrate force in one spot. Then wipe keycaps with a microfiber cloth lightly dampened with distilled water. For sticky residue, a small amount of isopropyl alcohol on the cloth can help, but test in an inconspicuous area first; some keycap coatings and printed legends react differently across brands and years.
Handle Spills With A Dry Plan
If liquid spills onto the keyboard, power off immediately and unplug. Turn the laptop upside down to drain, then leave it open to air-dry. Do not shake aggressively; that can spread liquid into the chassis. After drying, clean keycaps with a damp cloth, but avoid soaking the keyboard deck. If the spill was sugary or contained salts, corrosion risk increases, and you may need professional service rather than repeated home wiping.
Cleaning Routine
Use this sequence to reduce streaks and prevent moisture from migrating into seams. It also keeps you from “chasing dirt” across the screen with a cloth that has picked up grit.
- Power down and unplug. If possible, remove the battery.
- Dust first on the screen with a dry microfiber pass to avoid grinding particles.
- Lightly dampen the cloth for the screen. Wipe in one direction, then switch to a dry section of the cloth for a final pass.
- Keyboard debris: use compressed air in short bursts, angled to lift dust.
- Keycap wipe: wipe with a slightly damp microfiber cloth. Use minimal pressure and avoid liquid pooling.
- Dry time: wait until everything feels dry to the touch before powering on. A typical wait is at least 10–30 minutes for surface moisture, longer if you used more liquid.
On a glossy screen, fingerprints often respond to a dry microfiber pass followed by a single damp pass. On matte screens, you may need gentler pressure because matte textures can show streaks if you overwork the surface.
Educational Case Examples
Fingerprint Smears On A Glossy Panel
An office worker notices rainbow smears after using a pre-moistened disinfectant wipe. The wipe left residue that reappears under bright light. The fix is to power down, wipe with a microfiber cloth dampened with distilled water, then finish with a dry microfiber pass. If residue persists, repeating the distilled-water pass usually works better than adding more alcohol.
Sticky Keys After A Drink
A student spills a sweet beverage near the trackpad and sees keys sticking after drying. The person powers off, drains the laptop, and lets it air-dry with the lid open. After the keyboard is dry, they clean only the keycaps with a lightly damp cloth and avoid soaking around the edges. If keys remain sticky after a careful cleaning, the residue may have reached beneath the keycaps, and service becomes the safer route.
Checklist For Cleaners
| Item | Best Use | Main Risk | Safer Alternative |
|---|---|---|---|
| Microfiber cloth | Dry dust removal and final buff | Scratches if cloth is gritty | Use a clean, dedicated cloth |
| Distilled water | Light screen cleaning on cloth | Moisture seepage if over-applied | Dampen cloth lightly; wipe edges last |
| Isopropyl alcohol (70%) | Sticky keycaps (test first) | Coating damage on some screens/legends | Use distilled water first; spot-test |
| Glass cleaner | Not recommended for laptop displays | Additives and surfactants residue | Use distilled water or approved cleaner |
| Disinfectant wipes | Keyboard surfaces only (if approved) | Residue and moisture ingress | Use microfiber + minimal moisture |
If you want a decision shortcut: use dry microfiber first, then distilled water on the cloth, then a tested alcohol spot only when residue resists water. That order reduces the chance of coating damage.
Common Mistakes To Avoid
Do not spray cleaner straight onto the screen. Sprays travel along edges and can reach the panel’s internal layers. Even if the screen looks fine immediately, residue can dry inside seams and create haze later.
Avoid pressing hard to “remove stubborn marks.” Pressure can warp the display stack or leave uneven pressure marks on some panels. For keyboards, avoid prying keycaps unless the manufacturer’s service guide supports it; many laptops use mechanisms that do not tolerate casual removal.
Do not clean right after the laptop runs hot. Heat changes how liquids spread and how coatings behave, and it increases the chance of streaks. If you clean on a bright day, glare can hide streaks until you move the laptop indoors; I check under two angles, because lighting lies.
Do not ignore manufacturer guidance. Laptop manuals often specify approved cleaners and sometimes forbid alcohol on certain display types. If the manual is missing, the safest approach stays with distilled water on cloth and dry microfiber for the screen.
FAQ
Can I Use Alcohol On The Screen?
Use alcohol on the screen only when the laptop manual or the screen-coating guidance explicitly permits it. Many screens tolerate alcohol poorly because coatings can degrade or streak; distilled water on a microfiber cloth is a safer first step.
What Should I Use To Remove Dust From The Keyboard?
Use compressed air in short bursts from several inches away, then wipe keycaps with a clean microfiber cloth. A soft brush can help lift debris, but avoid pushing grit under the key edges.
How Do I Clean Sticky Keys Without Soaking?
Power off, then wipe keycaps with a microfiber cloth lightly dampened with distilled water. If residue remains, spot-test a small amount of 70% isopropyl alcohol on the cloth and wipe gently; stop if the legend looks affected.
What If Liquid Spills On The Keyboard?
Power off and unplug immediately, drain by turning the laptop upside down, and let it air-dry with the lid open. After it feels dry, clean keycaps with minimal moisture; persistent stickiness can indicate residue under keycaps.
How Long Should I Wait Before Turning It Back On?
Wait until the screen and keyboard feel completely dry to the touch. For light surface cleaning, 10–30 minutes often works, but longer drying is safer if you used more liquid or cleaned near seams.
Author's Insight
Safe cleaning depends on controlling moisture and avoiding chemistry that attacks coatings. Display layers include polarizers and anti-glare or oleophobic coatings, so repeated exposure to harsh solvents can change how the surface looks and behaves. Keyboards rely on switch housings and membranes that tolerate little liquid, so wiping with minimal dampness reduces corrosion risk. When manuals are available, they usually specify approved cleaners; when they are not, distilled water on a microfiber cloth plus dry buffing is the lowest-risk routine.
Key Takeaways
- Power off and unplug before cleaning; cool the laptop first to reduce streaking.
- Apply liquid to the cloth, not directly to the screen or keyboard.
- Use dry microfiber first, then distilled water for most screen smudges.
- Use compressed air carefully for keyboard debris, then wipe keycaps with minimal moisture.
- For spills, prioritize drying and corrosion prevention over repeated wiping.